
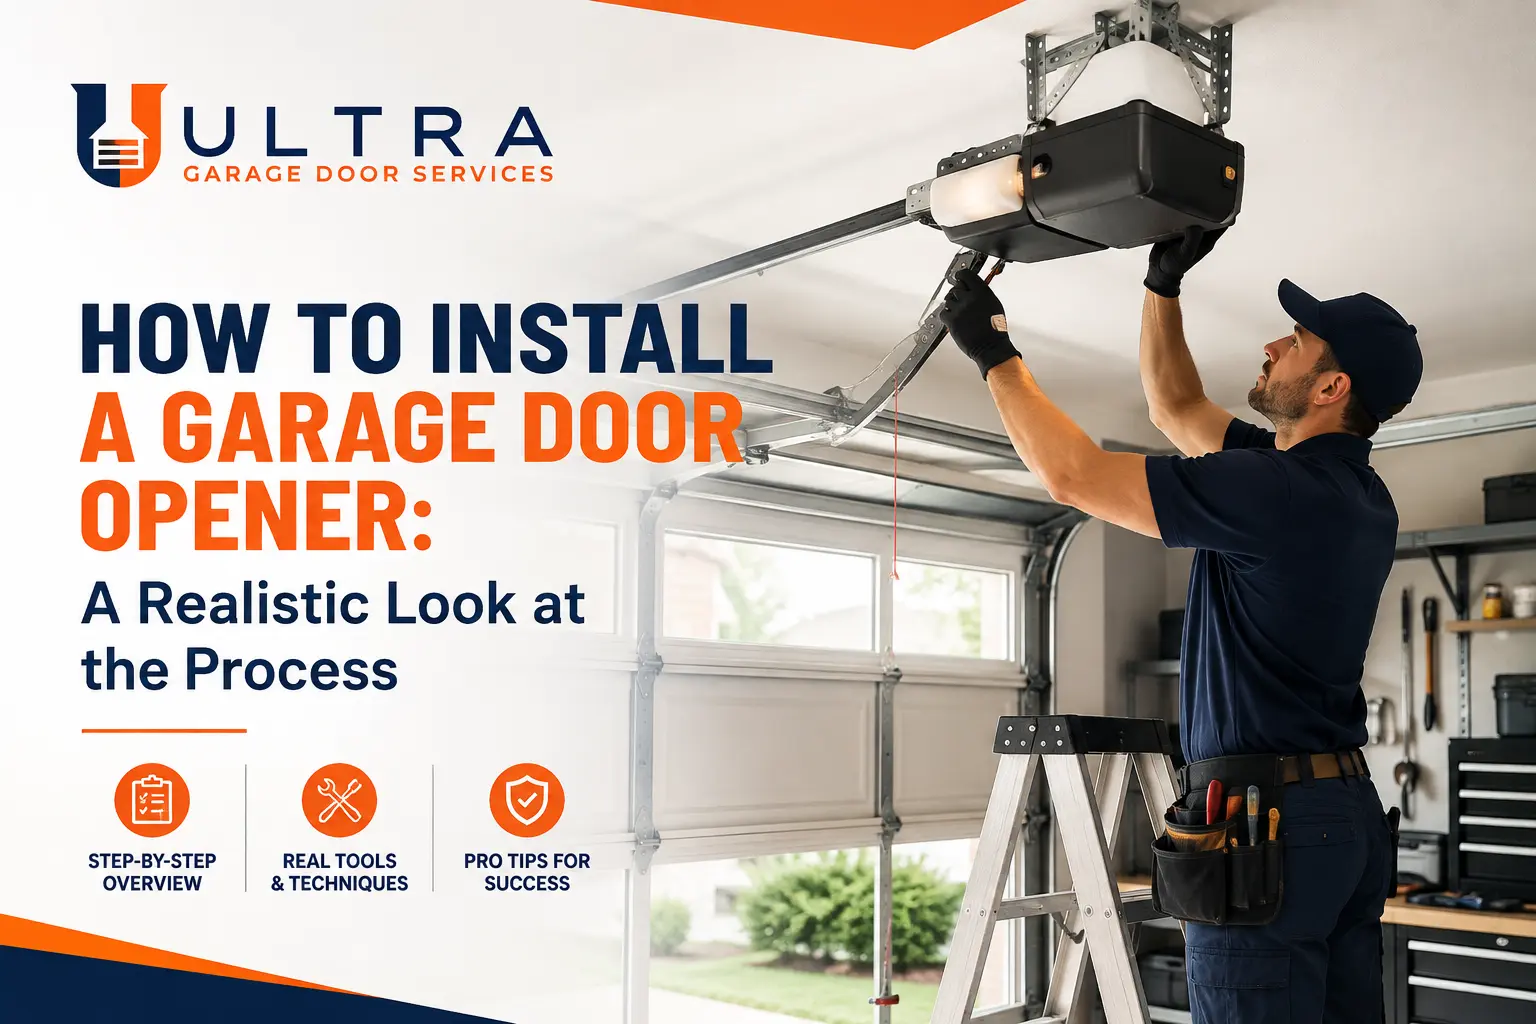
Opener installation gets searched constantly by Iowa Colony and Arcola homeowners looking to save a service call, and it’s a fair question to ask since this job is genuinely more approachable than full door installation. It still isn’t foolproof, and a handful of common mistakes cause more service calls than the installation itself ever needed to.
Ultra Garage Door opener experts install openers across the Houston area daily, and we’ve seen most of the ways a DIY attempt goes sideways. This guide covers the actual steps, plus the mistakes worth avoiding if you’re planning to tackle it yourself.
What Are the Basic Steps for Opener Installation?
Installation starts with assembling the rail and motor unit according to the manufacturer’s diagram, which sounds simple until you’re actually holding the parts. Next comes mounting the unit to the ceiling joists, not just the drywall, since the motor’s weight and the force of daily operation will tear through unsupported material within months.
- Assemble the rail and motor unit per manufacturer instructions
- Mount securely to ceiling joists, never drywall alone
- Connect the door arm bracket to the top door panel
- Install and align photoelectric safety sensors
- Wire the wall control and program remotes
What Mistakes Cause the Most Problems Afterward?
Sensor misalignment tops the list by a wide margin. Even a slight tilt causes the door to reverse randomly or refuse to close, and it’s the single most common issue we get called out to fix after a DIY opener install. Mounting to drywall instead of a joist runs a close second, usually discovered when the whole unit sags or pulls loose months later.
Skipping the force-setting adjustment causes trouble too. Openers ship with default force settings that don’t always match your specific door’s weight, and an incorrectly calibrated force setting either strains the motor or fails the safety reversal test. Rushing the wall control wiring is another common one, since a loose connection there causes intermittent behavior that’s genuinely hard to diagnose after the fact.
Do You Need Special Tools for This Job?
A drill, a ladder tall enough to comfortably reach the ceiling, a level, and basic hand tools cover most of it. You may need a stud finder if you’re not confident locating the joists by eye. None of this is exotic equipment, which is part of why this particular job tempts more DIY attempts than full door installation does.

How Long Does Opener Installation Actually Take?
Budget two to four hours if this is your first time, longer if your garage ceiling height or joist spacing doesn’t match what the instructions assume. A professional technician typically finishes the same job in under two hours, partly from experience and partly from having the right tools already on hand rather than making a hardware store run mid-project.
According to the National Electrical Manufacturers Association, improperly installed garage door opener safety sensors remain one of the more common causes of preventable garage door incidents in residential homes.
What Safety Testing Should You Do After Installation?
Test the auto-reverse feature by placing a solid object, like a two-by-four, flat on the ground in the door’s path. The door should reverse immediately on contact rather than continuing to close against it. Run this test right after installation and periodically afterward, since sensor alignment can shift slightly over months of normal use.
Check the force setting too. A door that struggles or strains noticeably during a normal cycle usually has the force set too low. One that doesn’t stop or reverse properly when it should might have it set too high, which defeats the purpose of the safety sensors entirely.
Is It Ever Worth Paying for Professional Installation Instead?
For a lot of homeowners, yes, even on a job this approachable. The time saved alone often justifies the cost, and you skip the risk of a sensor misalignment causing problems down the road. Arcola homeowners juggling a full weekend schedule tend to find the math works out in favor of a quick professional visit rather than an afternoon spent troubleshooting a stubborn bracket.
Can You Reuse Your Old Remotes With a New Opener?
Sometimes, though it depends on the brand and model compatibility between your old remotes and the new unit. Universal remotes work with most modern openers regardless of brand, which can save you from reprogramming every device in the household. A technician can confirm compatibility quickly if you’re not sure what you’re working with.
Iowa Colony homeowners upgrading from an older system sometimes assume they’ll need entirely new remotes, only to find their existing ones reprogram just fine once the new motor’s installed and running properly.
Whether you’re in Houston, Iowa Colony, or Arcola, Ultra Garage Door Services installs garage door openers correctly the first time, sensors aligned and force settings calibrated. Contact us if you’d rather skip the DIY route entirely.


